For my wife’s birthday this year, I created a prototype of a small game-like 3D environment that she could “walk around” in using the keyboard and mouse. The idea was to have an “exhibit” for each year we have known each other, consisting of a few photos from that year as well as a short text describing major events that happened during the year.
Unfortunately, I am terrible at planning things and started a bit too late so I did not finish the game in time for the birthday.
With the help of Unity, I managed to finish the project eventually. This post is about that journey as well as some observations on Unity and game design in general.
Note: I usually make my stuff available online, e.g. on Github. Not this time though. This was a personal thing I created for my wife. I’m reproducing the images for this blog post with her permission :-)
Focus on the content
The prototype was created for the browser and used three.js for most of the 3D stuff. I am a fan of WebGL, and I had some prior experience from working on Photo Amaze and Zombie Hugs, so it seemed like a natural choice.
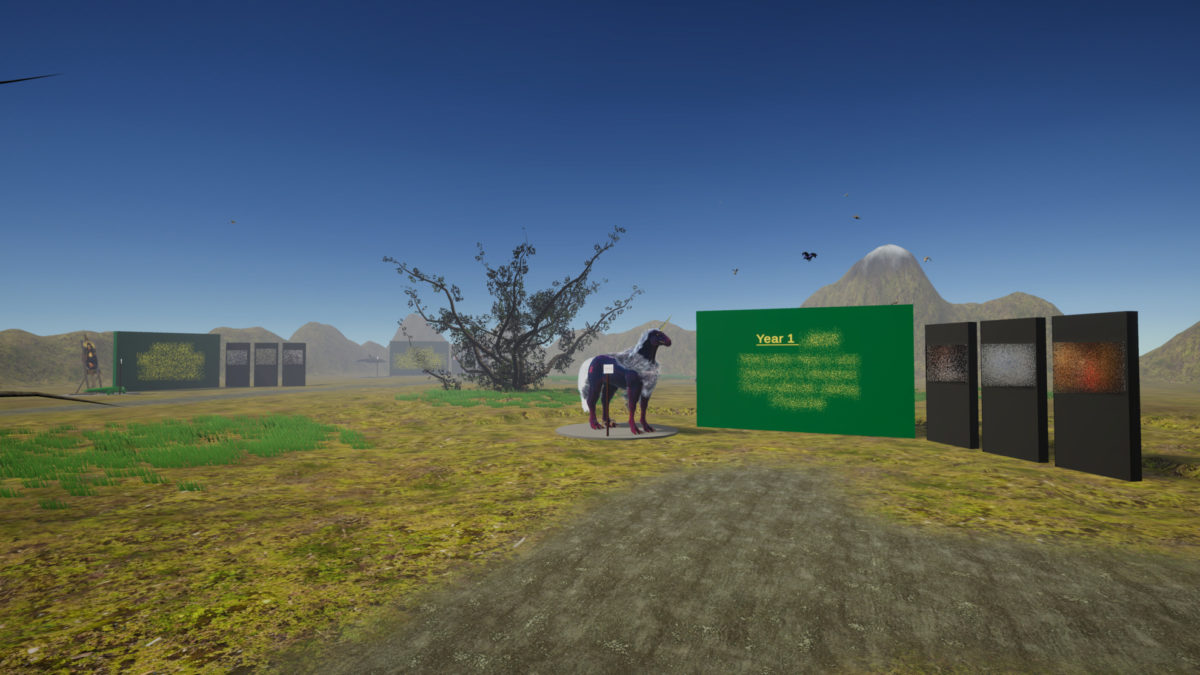
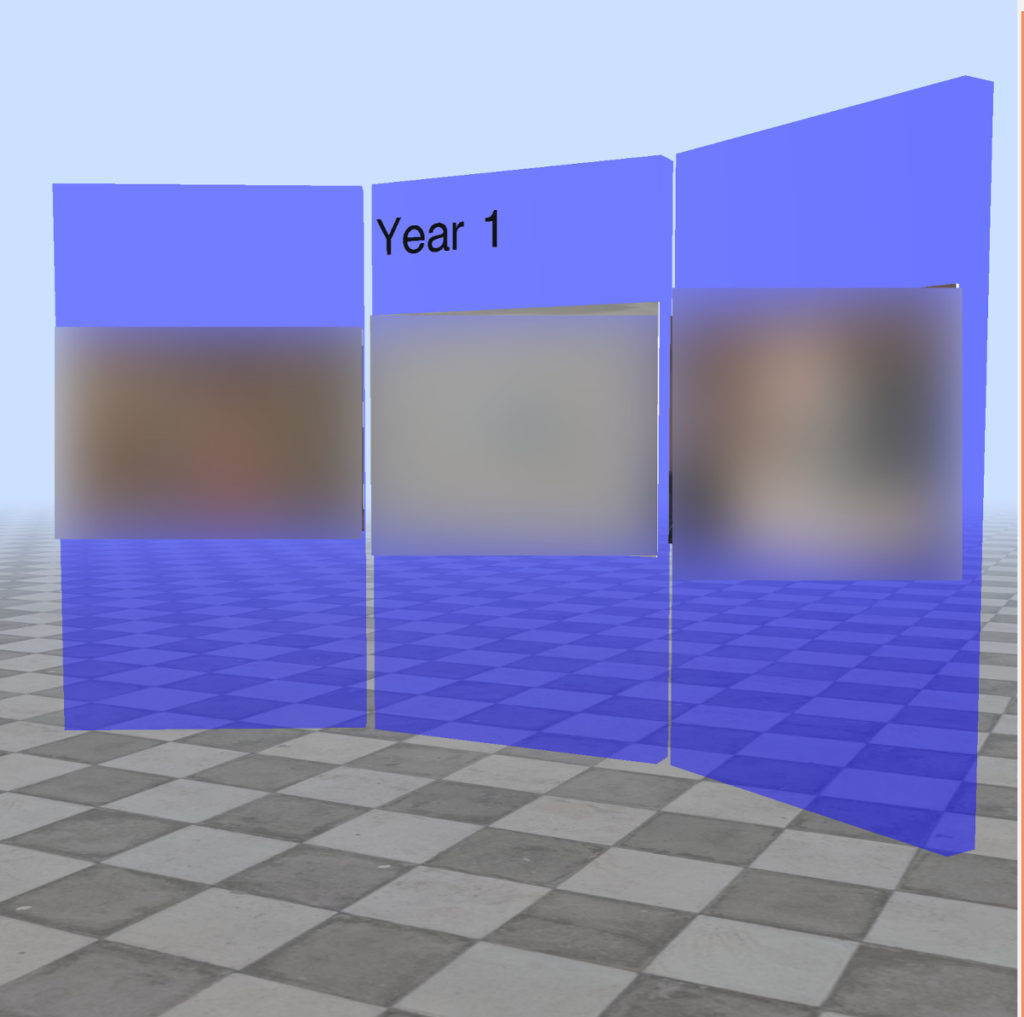
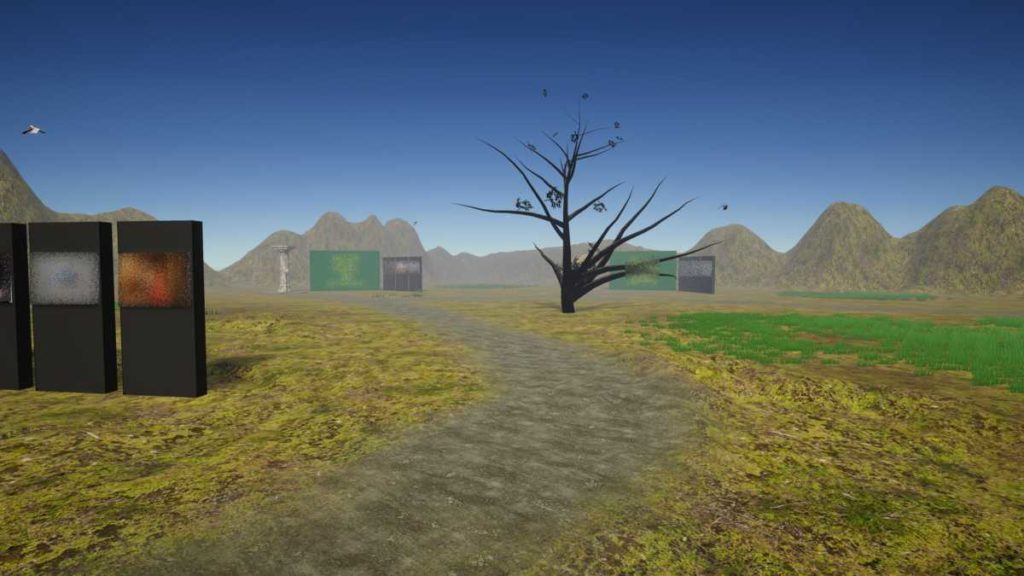
Here are two screenshots from the initial prototype:
The thick fog was added as a way to limit the initial view and ensure only one piece of text was visible at a time, and the rest was hidden in the fog until the player started moving forward. This fog then cleared up once the first exhibit was reached, making the scene more open.
I found photos for three out of ten exhibits and wrote the initial intro text, but the rest remained unfinished. One reason for this was that I quickly started obsessing over details like shadows and lighting instead of focusing on the core content, which was selecting good photos and writing the right text.
Missing the birthday deadline had both good and bad consequences. I was very disappointed and embarrassed that I only had an early prototype to show, but it also allowed me to step back and rethink the project.
Beyond the browser
An appealing aspect of using three.js is that everything has to be defined in code. This provides a lot of control, but I quickly realized that I was not able to iterate and tweak the experience very fast. I had wanted to get my feet wet with a more full-fledged game engine for a while, so this was a good opportunity to do that.1
After researching the pros and cons of different game engines as well as experimenting briefly with Unity, Unreal Engine, Godot and Babylon.js (spending way too long trying to make grass out of fur), I ended up sticking with Unity, because it has a native Linux editor and good platform support.2
Unity is easy to get started with and includes lots of helpful tools out of the box. For example, I had good initial impressions of the built-in terrain editor and tree creator, and it seemed very easy to set up a basic outdoor environment. The Unity asset store also has a generous offering of free assets, including a ready-made first-person controller which is very handy.
Once the surface is scratched though, it becomes apparent that Unity is neither perfect nor complete, and creating games is not easy. Some of the challenges I faced were fun while others were frustrating.
The first (fun) obstacle I came across was creating the photo exhibits.
3D modeling the photo exhibit
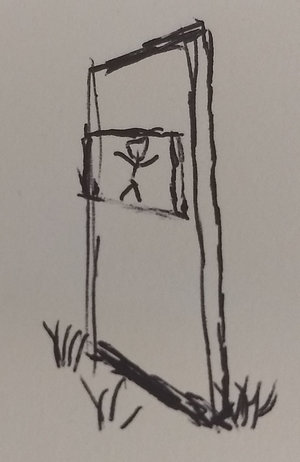
As you can see in the prototype above, an “exhibit” has three wall-like structures with a photo. I wanted the pictures to protrude a bit from the walls, making it look like a white canvas is hanging from the wall, with the photo “painted” on top of it. The drawing on the right illustrates the idea.
I thought it would be super easy to do this in Unity. Just create two cubes (a canvas cube and a wall cube)3, flatten and stretch them a bit, and put them next to each other so they overlap.
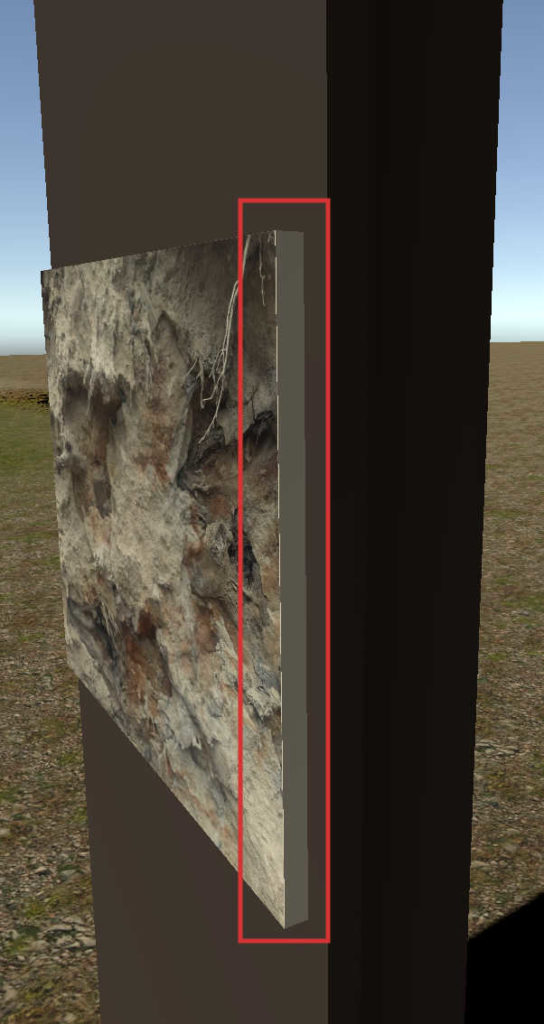
Actually, this worked ok, but there were two problems:
- There was a weird flicker where the cubes touched each other.
- When adding the photo to the canvas cube, it showed the photo on all sides, not just the front.
I fixed the second problem by putting a “quad” — a flat surface — on top of the canvas cube (or rather, next to it). The wall structure thus consisted of three 3D objects that were technically separate from each other, and it did not look good. There was still a weird flicker, and it also felt like the wrong way to solve the problem.
So I hit an early roadblock: Either I had to define the wall structure programmatically, or I had to make my own 3D model. I opted for the latter choice.
After going through some basic tutorials for Blender, I was able to create the wall structure and learn a thing or two about 3D modeling along the way. This is the result in all its simple glory:
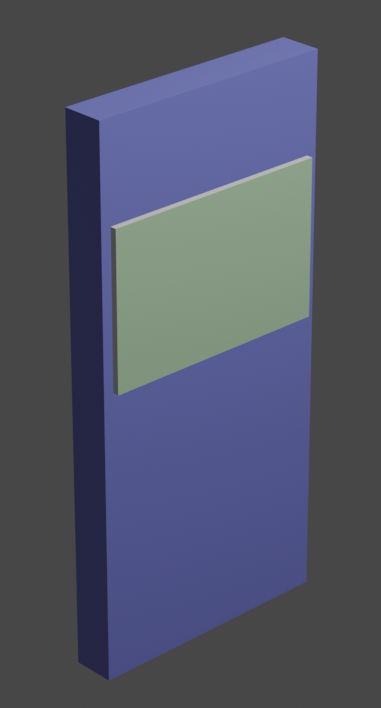
Even though I only did very basic stuff in Blender, it felt like a big win to be able to make basic models. I also created an exhibit sign and a cylinder with one open end (to simulate a tunnel or tube). All models can be found here.
Free models are great
Besides the photos and text, I decided to also create a “display” for each exhibit. This consisted of a 3D model or effect that was either a direct or indirect reference to the year the exhibit was for. For example, I used a Big Foot model standing on top of Mt Saint Helens for the year when we visited the area.
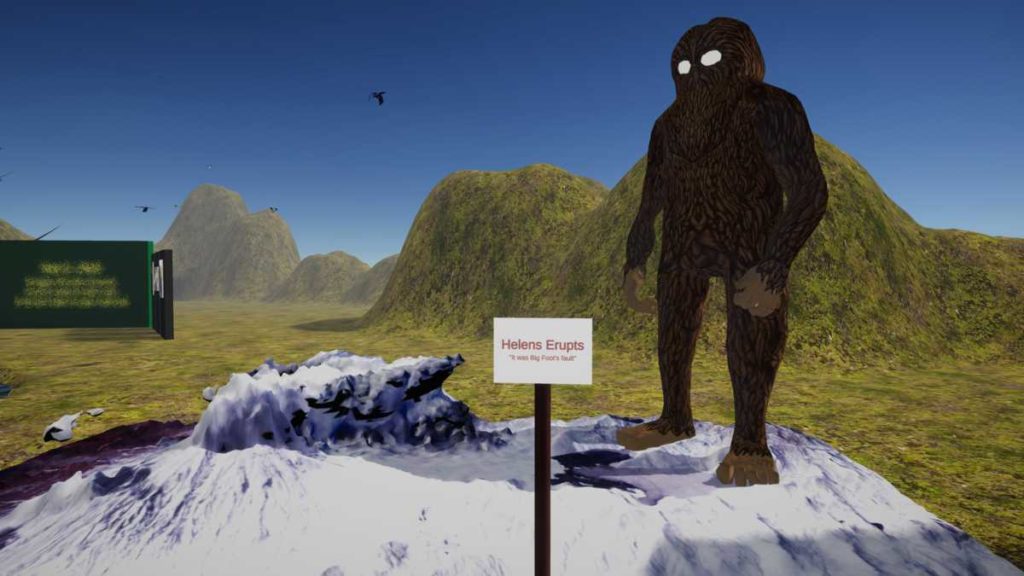
Using pre-made models was a fun and easy way to make the exhibits a bit more interesting. It took some time to find the right model, and it sometimes needed tweaking after import, but it gave me the opportunity to include visuals I could not have created on my own.
For the record, here is the list of the models I used:
- 2nd – Restoration // Mona Mono by Ringo Gunther
- 15legend by Amphivena
- Bottlenose Dolphin by popcornbag
- Crocigator by k0bold
- Doric Column with material by e.g.dev5
- Flying Island 2 by guten_morgen
- Gold Band Ring by GetDeadEntertainment
- Low Poly Jumping Kangaroo by sirleech
- Lowpoly Coronavirus (SARS-CoV-2) by tales
- Mad Cow: Furry road by Nours
- MtHelens_Aug71980 by SValkan
- UNICORNISAURUS by Freddy Drabble
All models are licensed under CC BY except for MtHelens (CC BY-NC-ND) and 15Legend (CC BY-NC).
All the models were found on Sketchfab, an online community with a lot of 3D models available either for free or purchase. It was a nice discovery!
An extra dimension
Besides downloading models, I also researched the possibility of adding models to the scene by simply scanning my environment or specific objects.
A technique known as photogrammetry makes it possible to turn multiple photos into 3D models. I played around with an open-source tool called Meshroom which is amazingly simple to work with. Just add a lot of photos from different viewing angles, wait a few hours, and a finished 3D model comes out.
A scan of a birch log from the forest made its way into the scene:
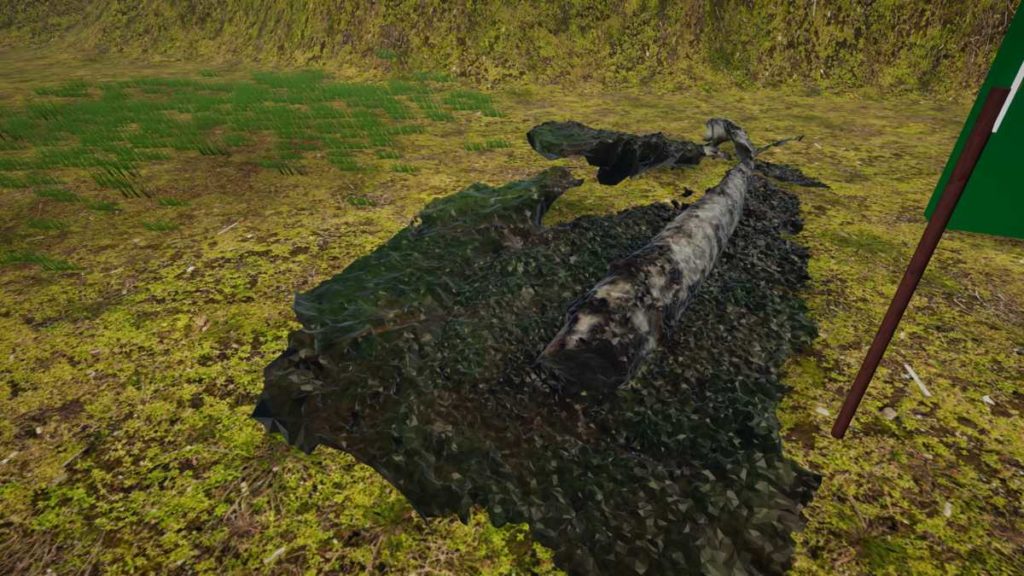
I did not get outstanding results, but it is worth noting I also just took the photos with my bad phone camera and spent very little time making sure I got good shots from all angles.
It is mindblowing that it is possible to go from 2D photos to 3D model, and I will definitely revisit photogrammetry again in the future.
Creating fake rain
A small feature I had fun creating was a super simple rain effect. There are numerous weather system plugins available for Unity (some are free), and there was even a “hose” effect available in the standard assets that kind-of did the trick (it simulates spraying water). But I needed a more uniform down-pour, and I really just needed something simple.
The effect was created by taking a bunch of small particles, give them a blue/white gradient color, apply gravity too them, and that is basically it.
I reused a texture from a water surface effect in the standard assets to give the raindrops a blue-ish appearance. The tails on the raindrops are automatically created by the particle system when using a render setting called “stretched billboard”. A bit of noise was added to the movement of the rain drops, so the rain does not fall straight down but looks slightly more natural and chaotic.
After playing around with the particle speed and size, I got the right look and feel I wanted. I was expecting this to be much more complicated, so it was a nice surprise when the process was fairly straightforward.
Designing for the player
The most enjoyable aspect of creating this game-like experience was going through our old photos to find a few that represented each year as well as thinking about the various events that happened throughout the year. It was a nice trip down memory lane.
Although the photos and text tell a story which is sequential in nature, the question was if they necessarily had to be experienced sequentially as well.
I considered two ways to handle progression through the game:
- Limit the initial environment with something like walls and corridors, guiding the player from exhibit to exhibit.
- Make the environment completely open, allowing the player to freely visit each exhibit in any order and with no restrictions.
The first option, limiting the player, would give me more control over the player’s movements and the “narrative” (if there was such a thing) of the experience, but it also felt like it would constrain the player. This can sometimes be a good technique to control pacing (a lot of games do this), but here it seemed unnecessarily constricting.
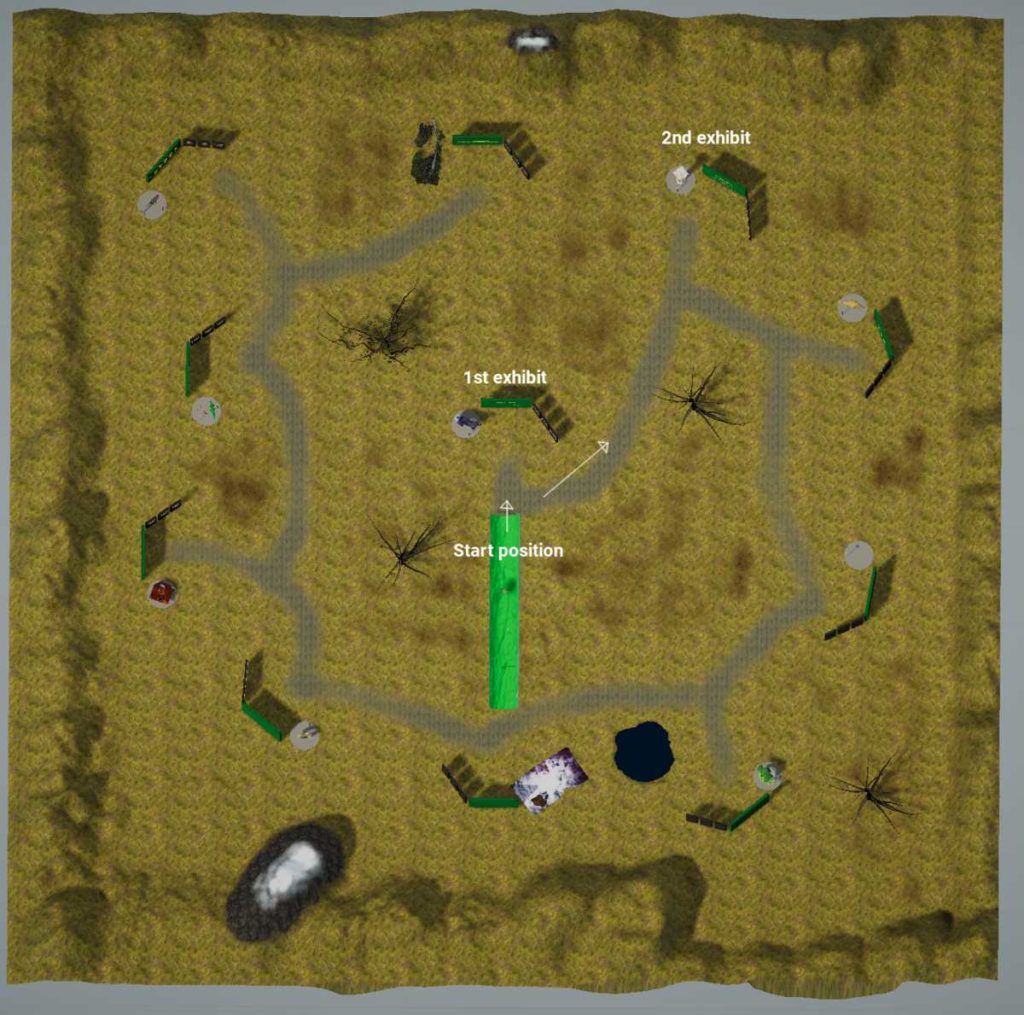
So I decided to go for 2., the open environment, but I still wanted to provide some guidance to help navigate the scene. I did this by creating a dirt path that leads through the grass between the exhibits. I thought it was a nice, obvious and non-constricting way to guide the player a bit:
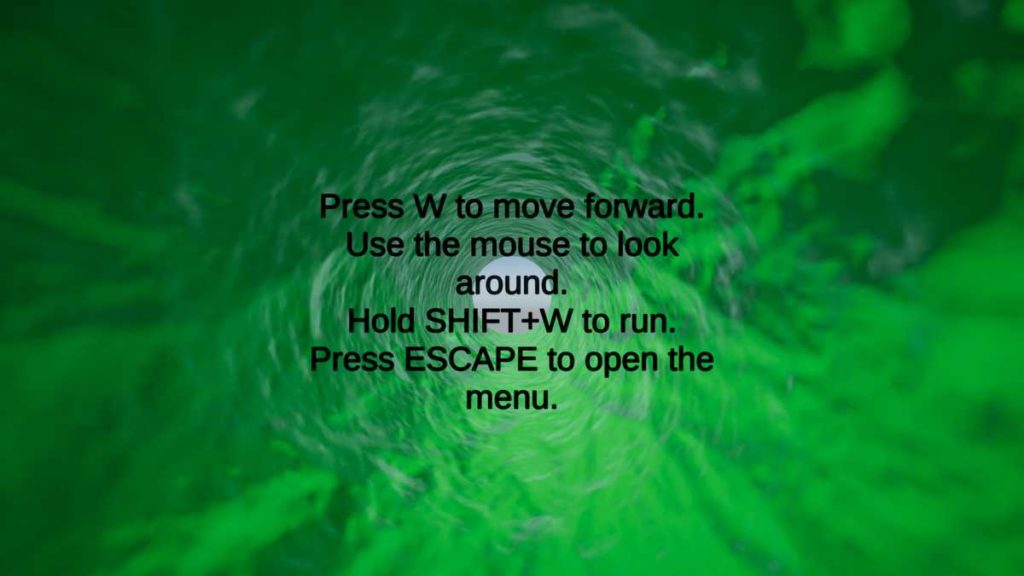
During the first 5-60 seconds of the game, the player is presented with the movement keys and the purpose of the game in a series of three welcome messages that show up on the screen as 3D text.
I wanted to be absolutely sure that the player could not miss the information, especially the movement keys. The way I achieved this was to add some constraint to the otherwise open environment at the initial stage of the game.
If you look closely at the aerial top view above, you might notice a long green shape at the center of the scene. This is actually a cylinder (or tunnel) floating 50 meters above the ground. The player starts the game inside the tunnel, and can only move forward and backward, ensuring that the information is difficult (but not impossible) to miss.
Furthermore, during the first 1-2 seconds, the camera is actually fixed in place, showing the movement keys while the start menu is fading out.
To make the cylinder/tunnel slightly more interesting, I painted it a bright green and used a normal map from a tree bark texture to give some resemblance of walking inside of a tree trunk.
When the player steps over the edge of the cylinder, they land near the first exhibit.4
The launch
I hope the above sections have provided at least some idea of how my little game-like experience turned out. I have not described everything, and there were even a few more ideas that did not make their way into the game at all, but I decided to stop the project when the core content was in a state I was satisfied with.
And then it was time to launch it, i.e. get my wife to play the game. I really wanted to see her reaction while playing, but I let her go through it by herself at her own pace.
I got quite emotional about it actually. Having revisited the memories of nice moments from the past while working on the project, I was already on a trip of nostalgia. Showing the game to my wife was the culmination of that journey, and when I heard a giggle coming from her room, I shed a little tear.
Moving forward
Even for a simple game-like experience like the one I created, there are still many little decisions that go into making it. Thinking through these decisions, playing around with solutions and seeing the result is often rewarding and interesting, and I can totally understand the appeal to work professionally with games and similar creative endeavors.
I also have a newfound appreciation for how long it takes to produce game content. Even though I am an amateur in everything that has to do with game design (except for writing code), and my project was extremely small in scope, it is still easy to see why it takes so long to create games, and why people specialize in modeling, programming, animation, sound design etc. instead of trying to do everything.
I do not think this is the last time I will dabble with creating games. I hope to be able to combine aspects of my professional work-life (data science/ML/AI) with game creation. That would be a win-win for a side-project indeed.
Continue on page 2 if you are interested in reading a bit more about my experience with Unity. If this does not sound interesting, you can just stop reading here. Thank you for making it this far :-)
Footnotes
- I went through Unity’s roll-a-ball tutorial a few years prior, but none of that knowledge had stuck with me.
- Unreal works on Linux but requires compiling the editor from source. I actually did this and plan on trying it out more in the future, but for various other reasons, it was not a great fit for this project.
- A cube is a 3D model primitive in Unity and indeed in most other game engines as well.
- The player can continue to move forward while falling from the cylinder, because that is how the default controller works. I kept this behavior just for fun.
Leave a Reply