
I recently explored the capabilities of converting photos to something that looks hand-drawn with a pencil using ImageMagick. It is difficult to get good results, but I thought I would share a few one-liners that I found useful to play around with, as well as a bonus effect that turns a photo into something resembling a miniature.
I have collected all the commands in a gist here.
ImageMagick, as the name implies, can do a lot of basic and advanced image manipulation out of the box. For example, this is my current go-to command for resizing all images in a folder:
mogrify -resize 1200 *.jpgmogrify and convert are two commands included with ImageMagick, and they can do a lot more than just resize photos.
I will be using this photo of the Geirangerfjorden in Norway as an example throughout:
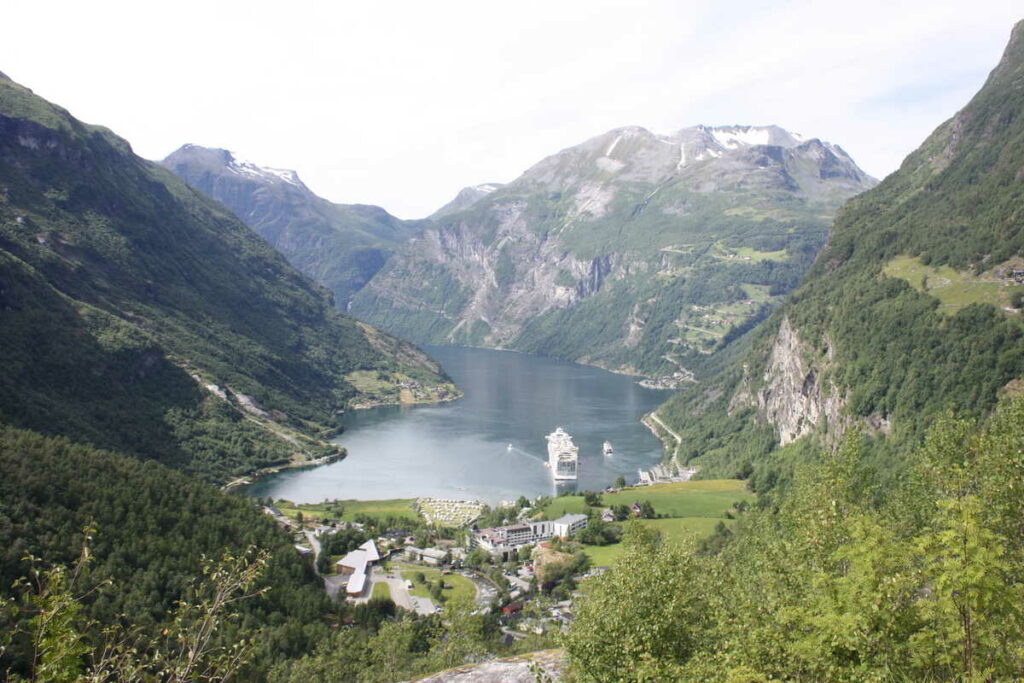
By the way, I also used Imagemagick to reduce the resolution and size of that photo so it was better suited for this post:
convert -format jpg \
    -strip \
    -interlace Plane \
    -quality 50% photo.jpg \
-resize 1200 photo_resized.jpgNote: Before running any of the commands in the following sections, you might want to make sure your terminal has extendedglob enabled:
# zsh
setopt extendedglob
# bash
shopt -s extglob
Finding outlines
My use case for finding outlines was to simplify photos into basic lines that I could use as models for my own pencil drawings.
This command finds very sparse and minimal outlines using the canny edge detector:
convert ^*canny*.jpg \
    -set filename:original %t \
    -resize 1200 \
    -canny 0x3+5%+15% \
    -negate '%[filename:original]_canny1.jpg'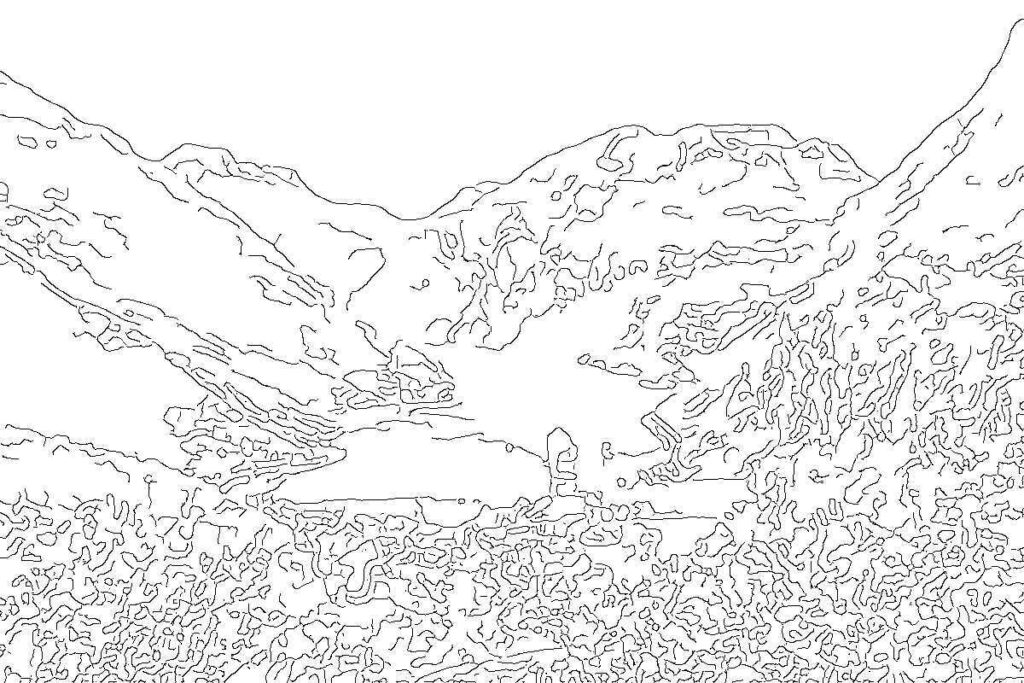
With a small adjustment to the parameters, we can get a bit more detail and more lines.
convert ^*canny*.jpg \
    -set filename:original %t \
    -resize 1200 \
    -canny 0x1+10%+20% \
    -negate '%[filename:original]_canny2.jpg'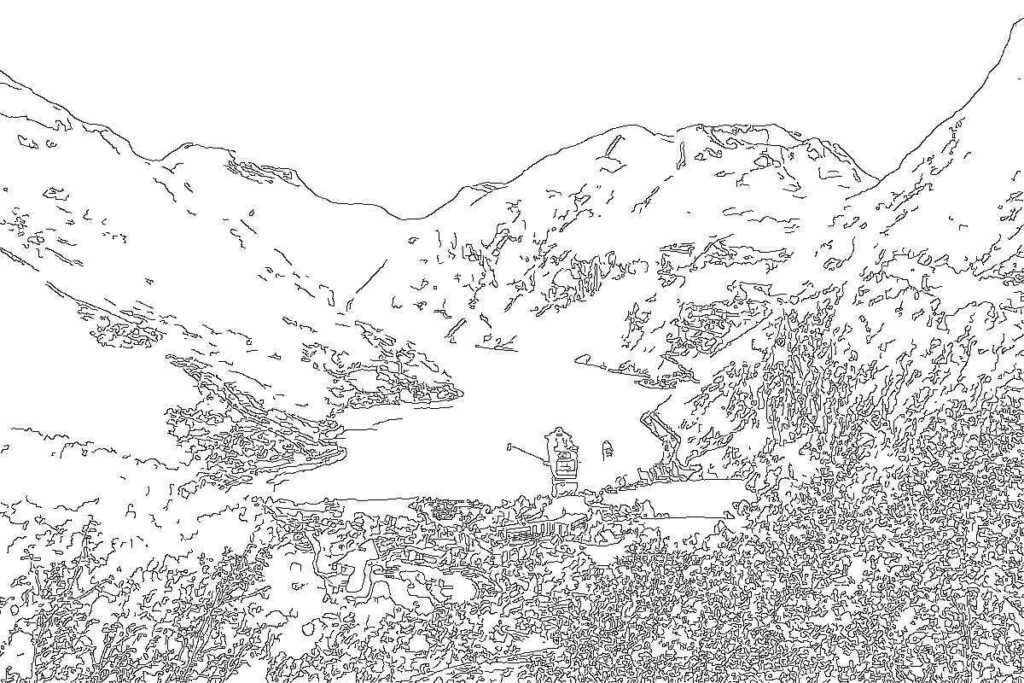
You can play around with the canny parameters for different results..
Pencil/sketch effect
Trying to get closer to an actual pencil-like effect, I played around with various methods. Most of the commands were modified from this article.
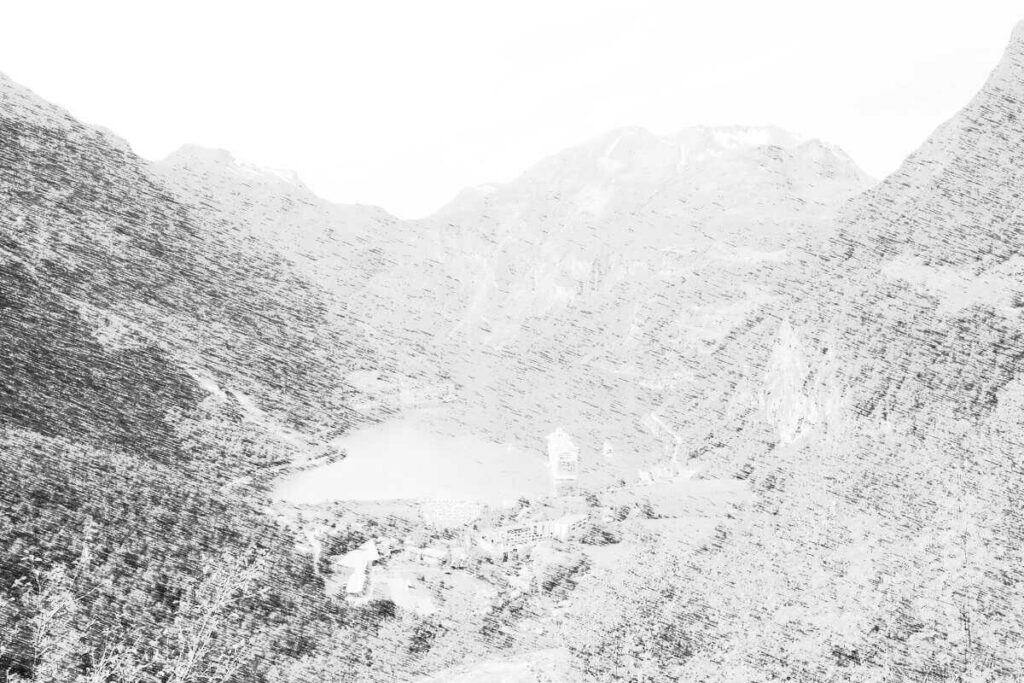
ImageMagick has a convert-to-pencil effect that is called sketch. It is a bit difficult to get good results though, and the command can be very slow if a large radius (one of the parameters) is used.
This was the best I could do when playing around with the parameters for a few minutes. Notice the weird trick where I negate the colors — it was the only way to avoid the photo becoming completely white in the middle where the ship is. That is why the sky becomes so dark:
convert geiranger.jpg \
    -resize 1200 \
    -colorspace gray \
    -negate \
    -sketch 0x20+20 geiranger_sketch.jpg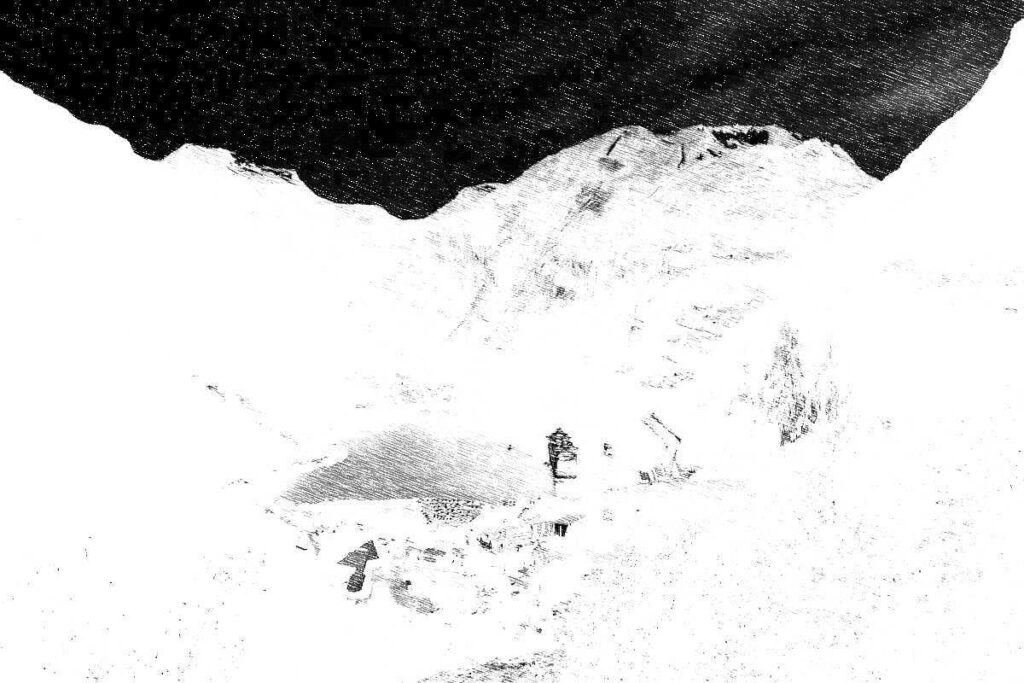
Another way to create pencil-like photo conversions is using the technique that the sketch parameter is based on. This involved creating an intermediate image which is used as a filter over the image to give the pencil-stroke effect.
I have to admit, I have no idea what is going on in these commands, and I mostly got them from the article mentioned above. First, create some noise with motion blur:
convert -size 256x256 \
    xc: +noise Random \
    -virtual-pixel tile \
    -motion-blur 0x20+20 \
    -charcoal 1 \
    -resize 50% pencil_tile.gif
Then convert the photo:
convert geiranger.jpg \
    -colorspace gray \
    \( +clone -tile pencil_tile.gif -draw "color 0,0 reset" \
    +clone +swap -compose color_dodge -composite \) \
    -fx 'u*.2+v*.8' geiranger_sketch2.jpg
The result is slightly different, but not perfect:
A third technique is to use the charcoal parameter which is actually being used to create the intermediate image above:
convert geiranger.jpg \
    -charcoal 1 geiranger_char1.jpg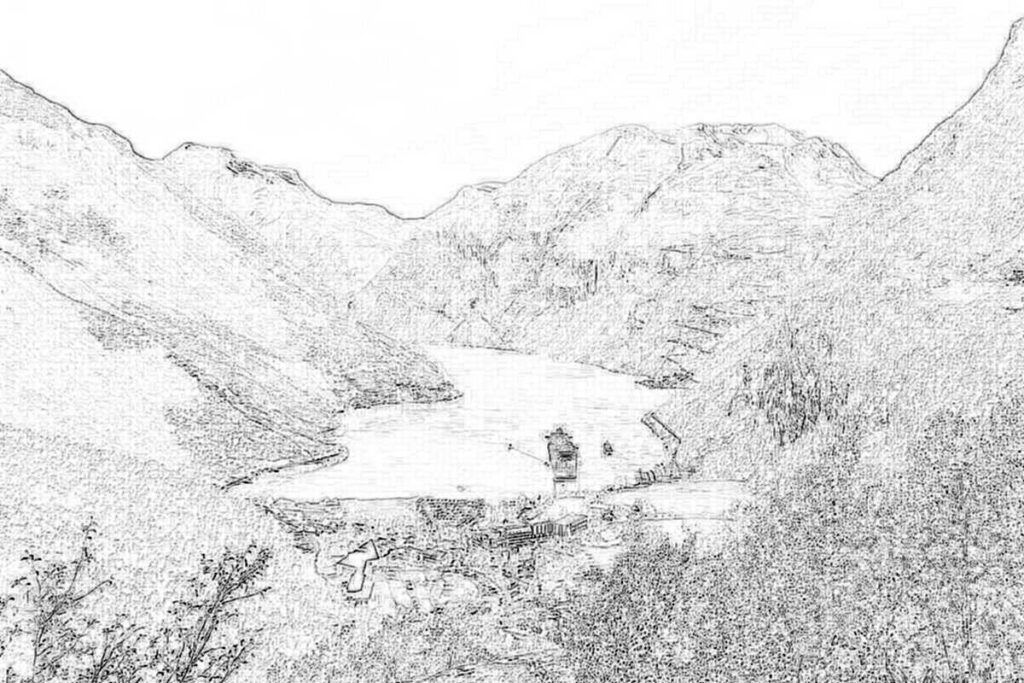
Miniature faking
I have always been fascinated by those photos that have a blurry effect that make them look like they are miniatures. The effect is called miniature faking and is related to tilt-shift photography.
The aforementioned article has an example. It works in some cases, but most of the time, the outcome is very bad. It happens to be ok for the Geiranger photo though. Slightly adjusted from the article:
convert geiranger.jpg -sigmoidal-contrast 10x50% \
    \( +clone -sparse-color Barycentric '0,0 black 0,%h gray80' \
    -solarize 50% -level 30%,0 -write mpr:blur_map \) \
    -compose Blur -set option:compose:args 10x0 \
    -composite mpr:blur_map \
    -compose Blur \
    -set option:compose:args 0x10 \
    -composite geiranger_blur.jpg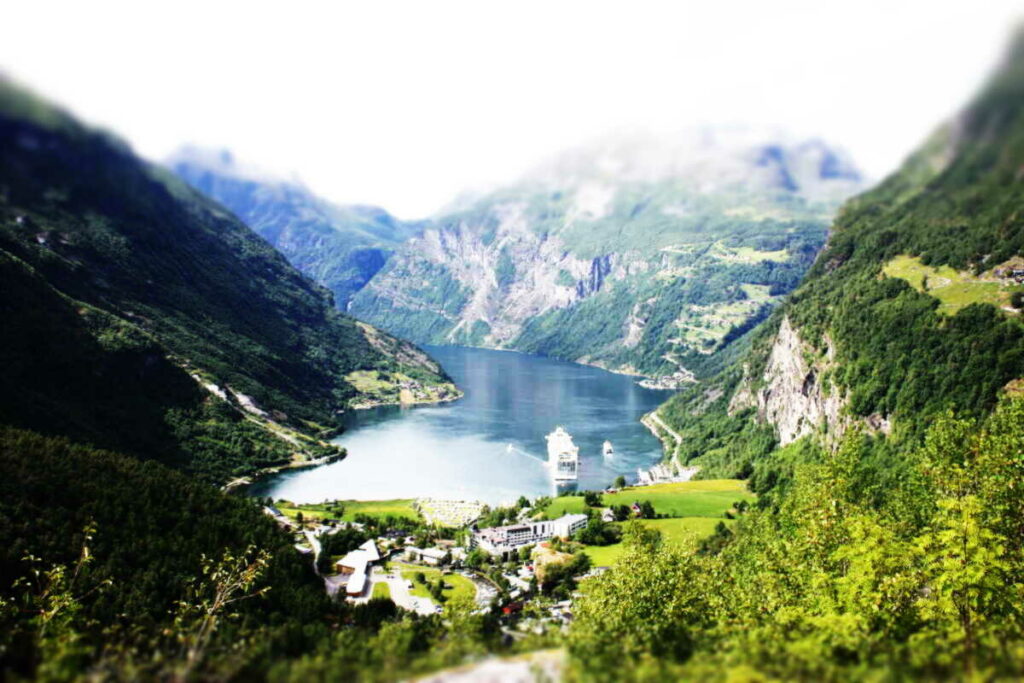
That is it for now. Good night :-)
Leave a Reply