The command converts all PNG images in a folder to JPG while preserving the filename. Even though quality is set to 50% (you can of course experience with this, I often don’t see a noticeable difference from the original — especially for images generated with AI such as Stable Diffusion.
And the size is reduced significantly. For example, I can sometimes reduce the size of PNG images by more than 90% (553kb to 39kb i a recent example).
I recently explored the capabilities of converting photos to something that looks hand-drawn with a pencil using ImageMagick. It is difficult to get good results, but I thought I would share a few one-liners that I found useful to play around with, as well as a bonus effect that turns a photo into something resembling a miniature.
ImageMagick, as the name implies, can do a lot of basic and advanced image manipulation out of the box. For example, this is my current go-to command for resizing all images in a folder:
mogrify -resize 1200 *.jpg
mogrify and convert are two commands included with ImageMagick, and they can do a lot more than just resize photos.
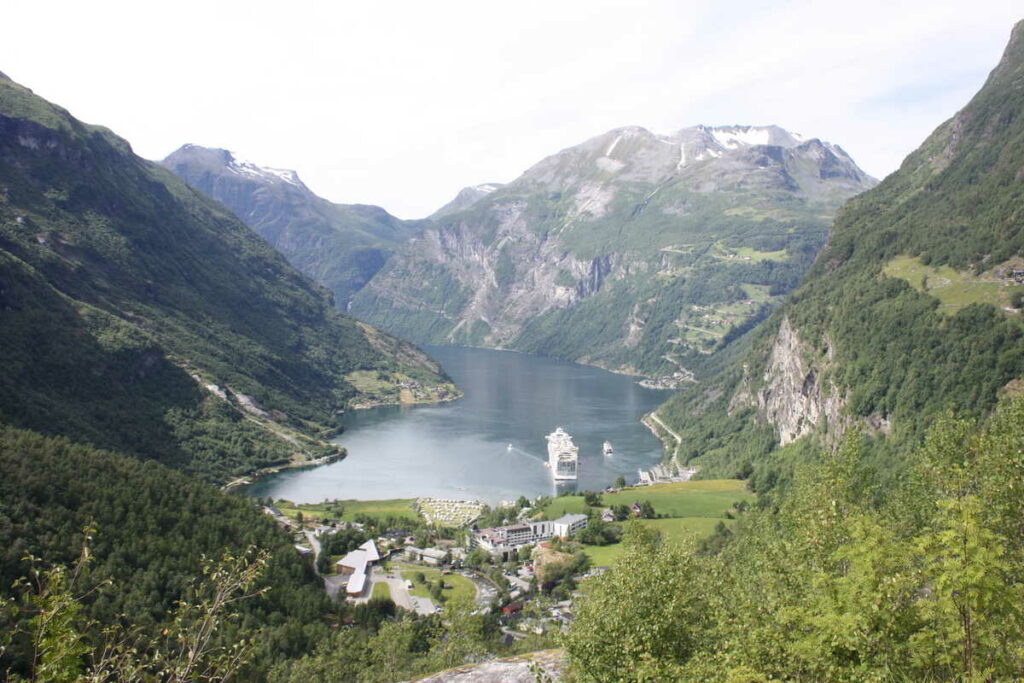
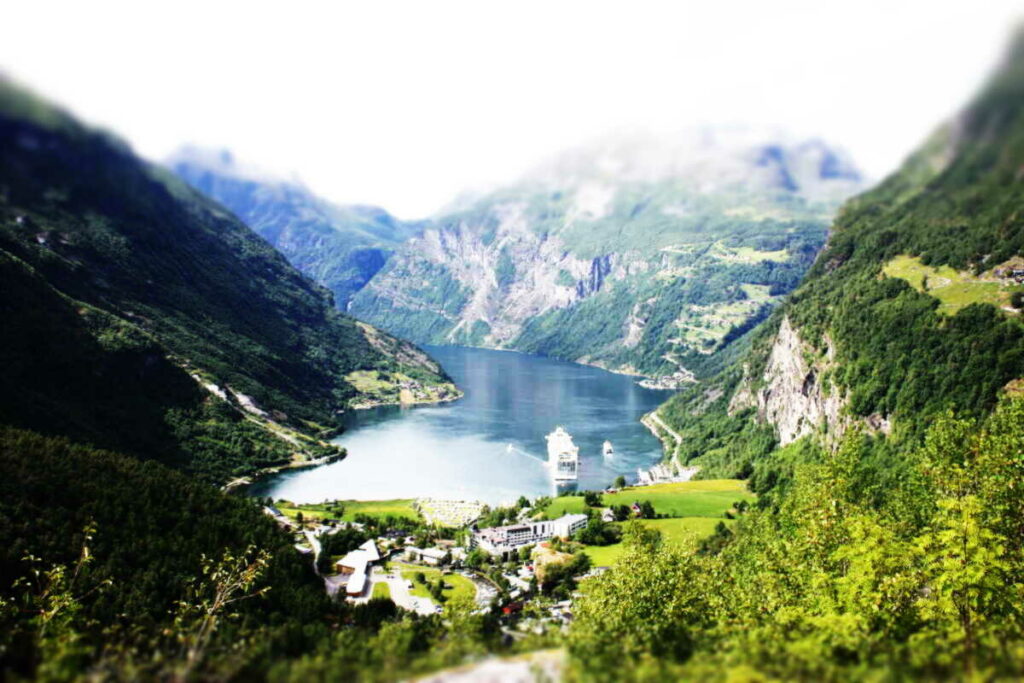
I will be using this photo of the Geirangerfjorden in Norway as an example throughout:
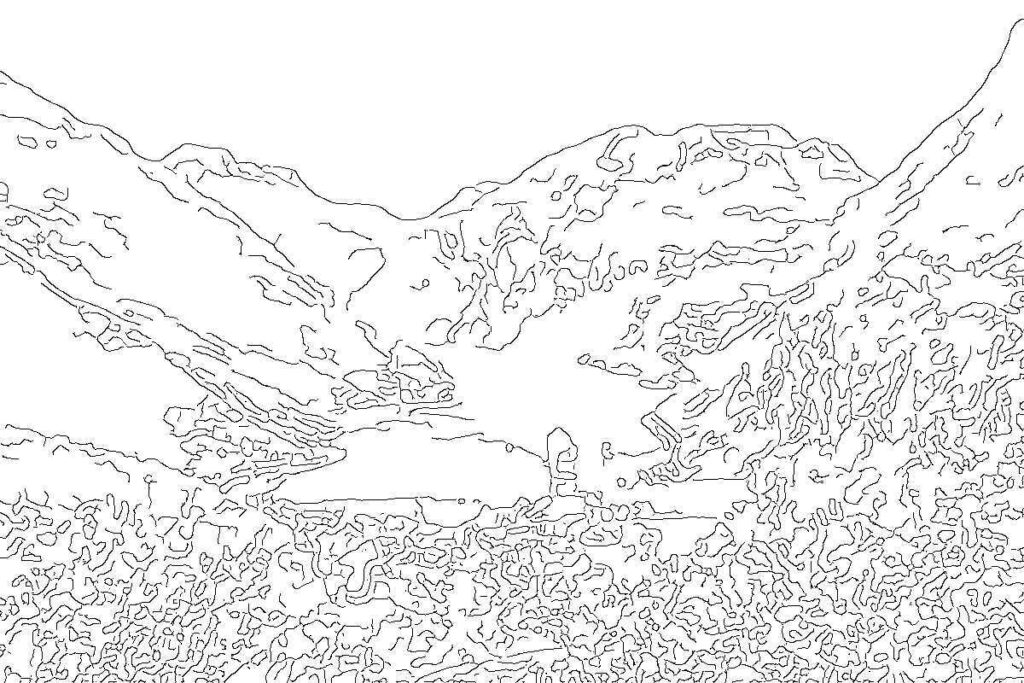
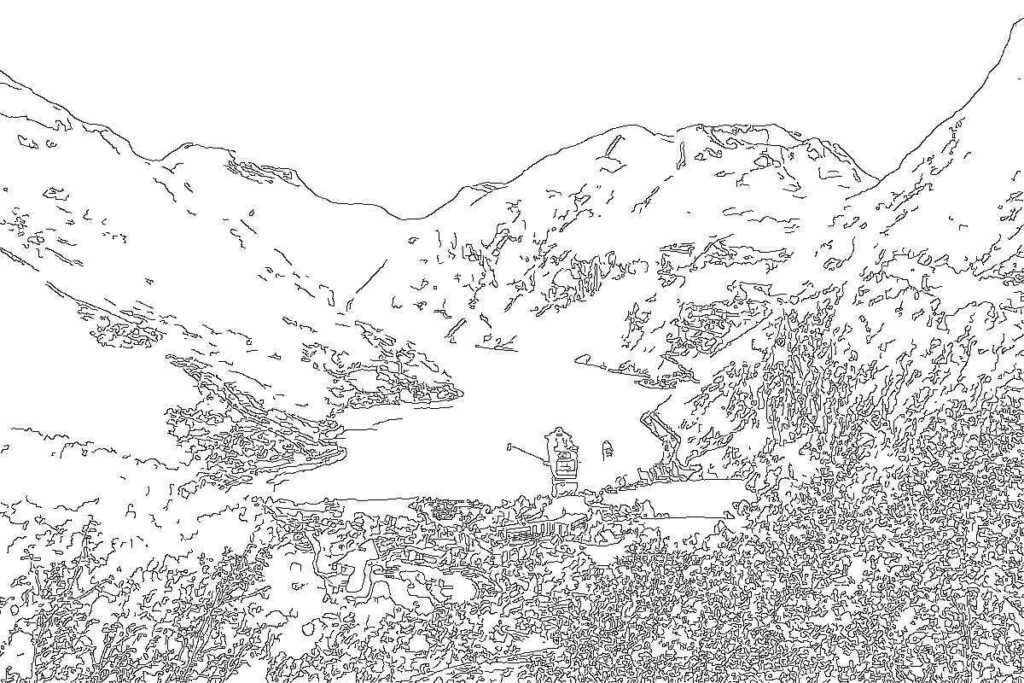
You can play around with the canny parameters for different results..
Pencil/sketch effect
Trying to get closer to an actual pencil-like effect, I played around with various methods. Most of the commands were modified from this article.
ImageMagick has a convert-to-pencil effect that is called sketch. It is a bit difficult to get good results though, and the command can be very slow if a large radius (one of the parameters) is used.
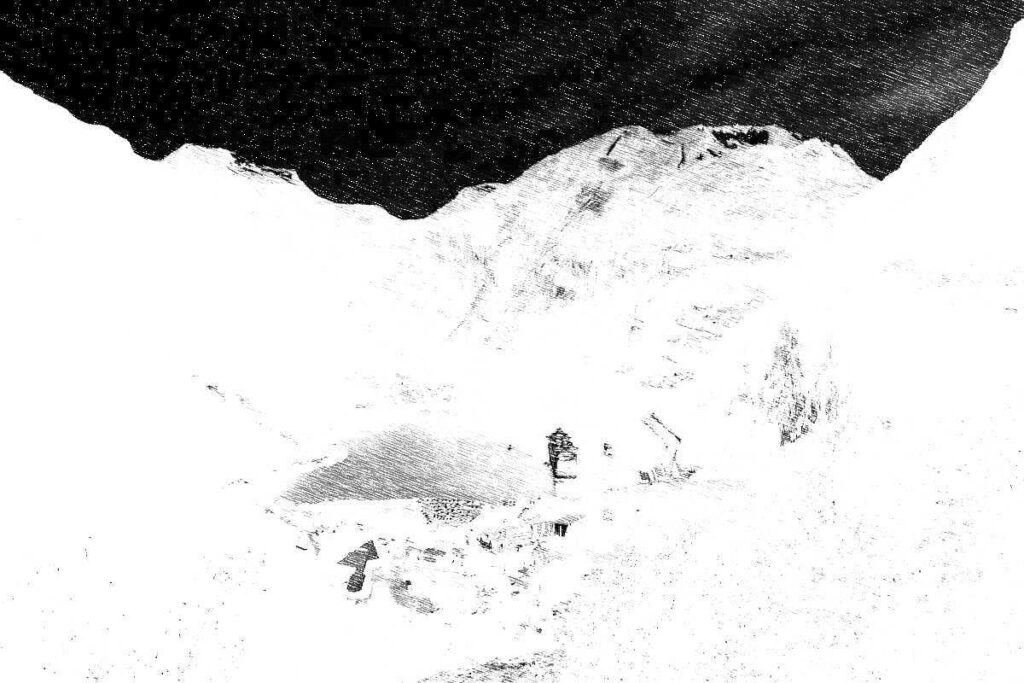
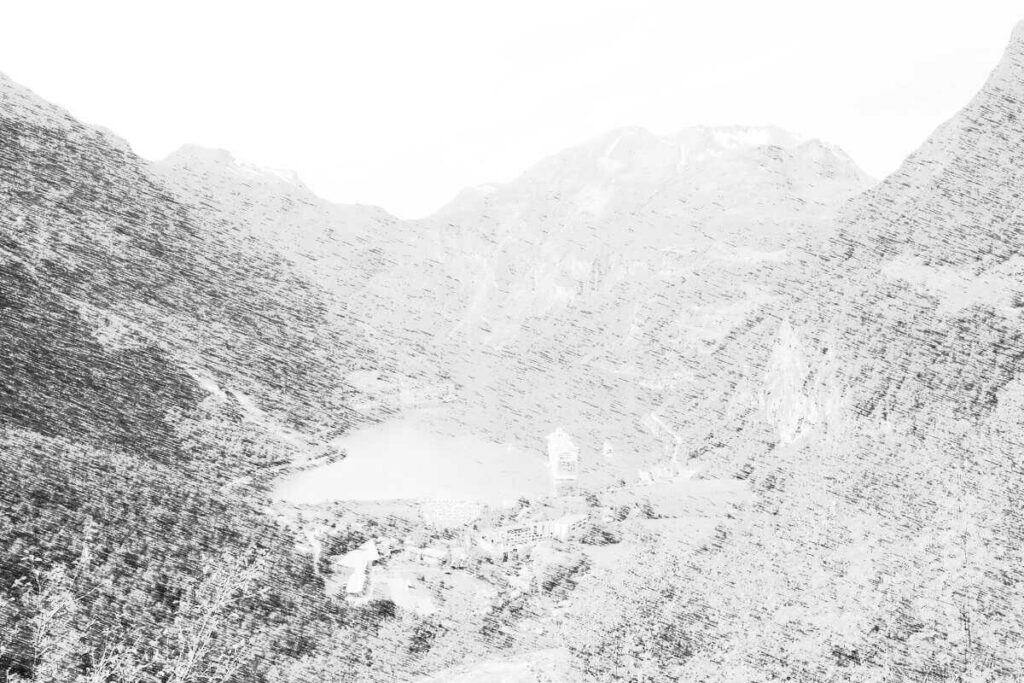
This was the best I could do when playing around with the parameters for a few minutes. Notice the weird trick where I negate the colors — it was the only way to avoid the photo becoming completely white in the middle where the ship is. That is why the sky becomes so dark:
Convert photo to pencil-like format using the sketch parameter.
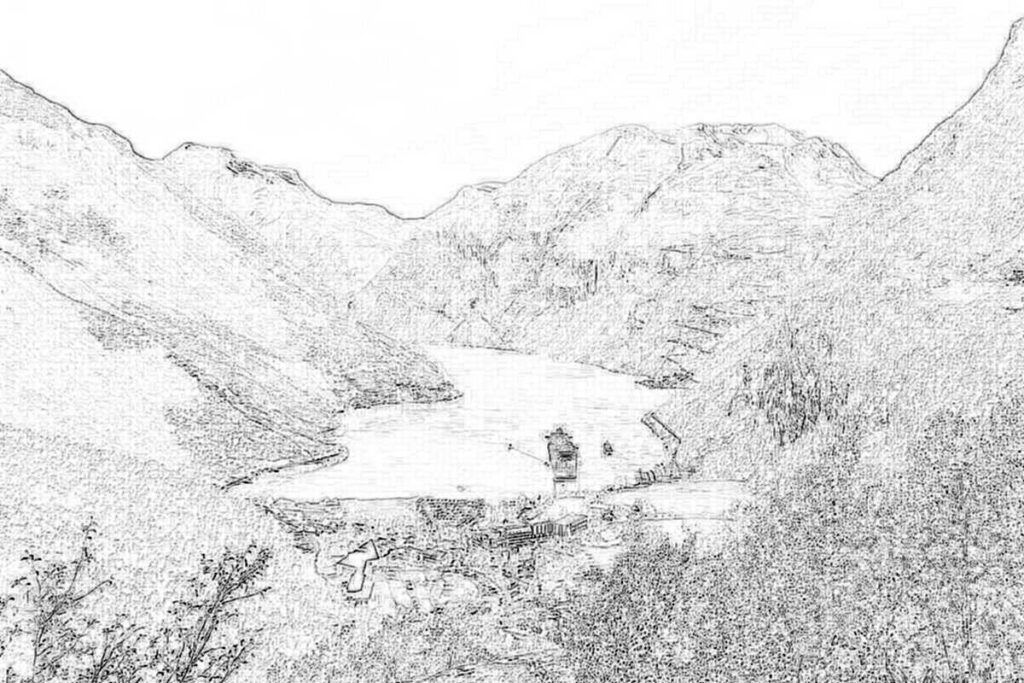
Another way to create pencil-like photo conversions is using the technique that the sketch parameter is based on. This involved creating an intermediate image which is used as a filter over the image to give the pencil-stroke effect.
I have to admit, I have no idea what is going on in these commands, and I mostly got them from the article mentioned above. First, create some noise with motion blur:
Convert photo to pencil-like format using -charcoal parameter
Miniature faking
I have always been fascinated by those photos that have a blurry effect that make them look like they are miniatures. The effect is called miniature faking and is related to tilt-shift photography.
The aforementioned article has an example. It works in some cases, but most of the time, the outcome is very bad. It happens to be ok for the Geiranger photo though. Slightly adjusted from the article:
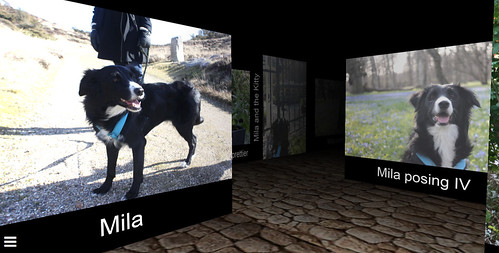
About a month ago, I attended the wedding of a childhood friend. Since I have had some extra free time lately, I came up with an idea of combining my interest in 3D with an app that could be used for the wedding. The result was Photo Maze, a 3D maze where the guests at the wedding could upload a photo from their phones and it would appear immediately in the maze, giving the bride and groom a kind of interactive photo album from their party.
I felt the urge to develop this idea a bit further and now, it has be re-named to Photo Amaze — a pun on maze and amaze. It is available for everyone, and I hope you will try it out!
Did you ever wonder where companies get their nice looking photos for the pages of their website? You know, the ones with a team with an equal amount of male and female employees that are just so happy about their jobs and dying to get some work done and have you as their next customer? Like this one:
I wondered about it but in many cases the answer is probably: Stock Photo. Take a look at the pictures in this most entertaining blog post: Microstock: why would a reputable company do this to themselves?
Quite weird having people on your corporate pictures that have never set foot in your company don’t you think? But it’s good fun.